Express Shipping
Orders before 2pm, ship today


We needed some additional storage space and our ToughSystem stack was already at it’s limit. So by adding this Dewalt ToughSystem Backpack to our set up we’ve given ourselves a nice portable option. This Dewalt tool bag came from our local Costco and was pretty reasonable at about £40. This toolbag backpack gives us a lot of additional space, but in an accessible, easy to carry way. As you’d expect from a brand like Dewalt their tool bags are really sturdy. They’ve got a real quality feel to them. But just how did we use Shadow Foam to maximise the space in it…? Read on for more!

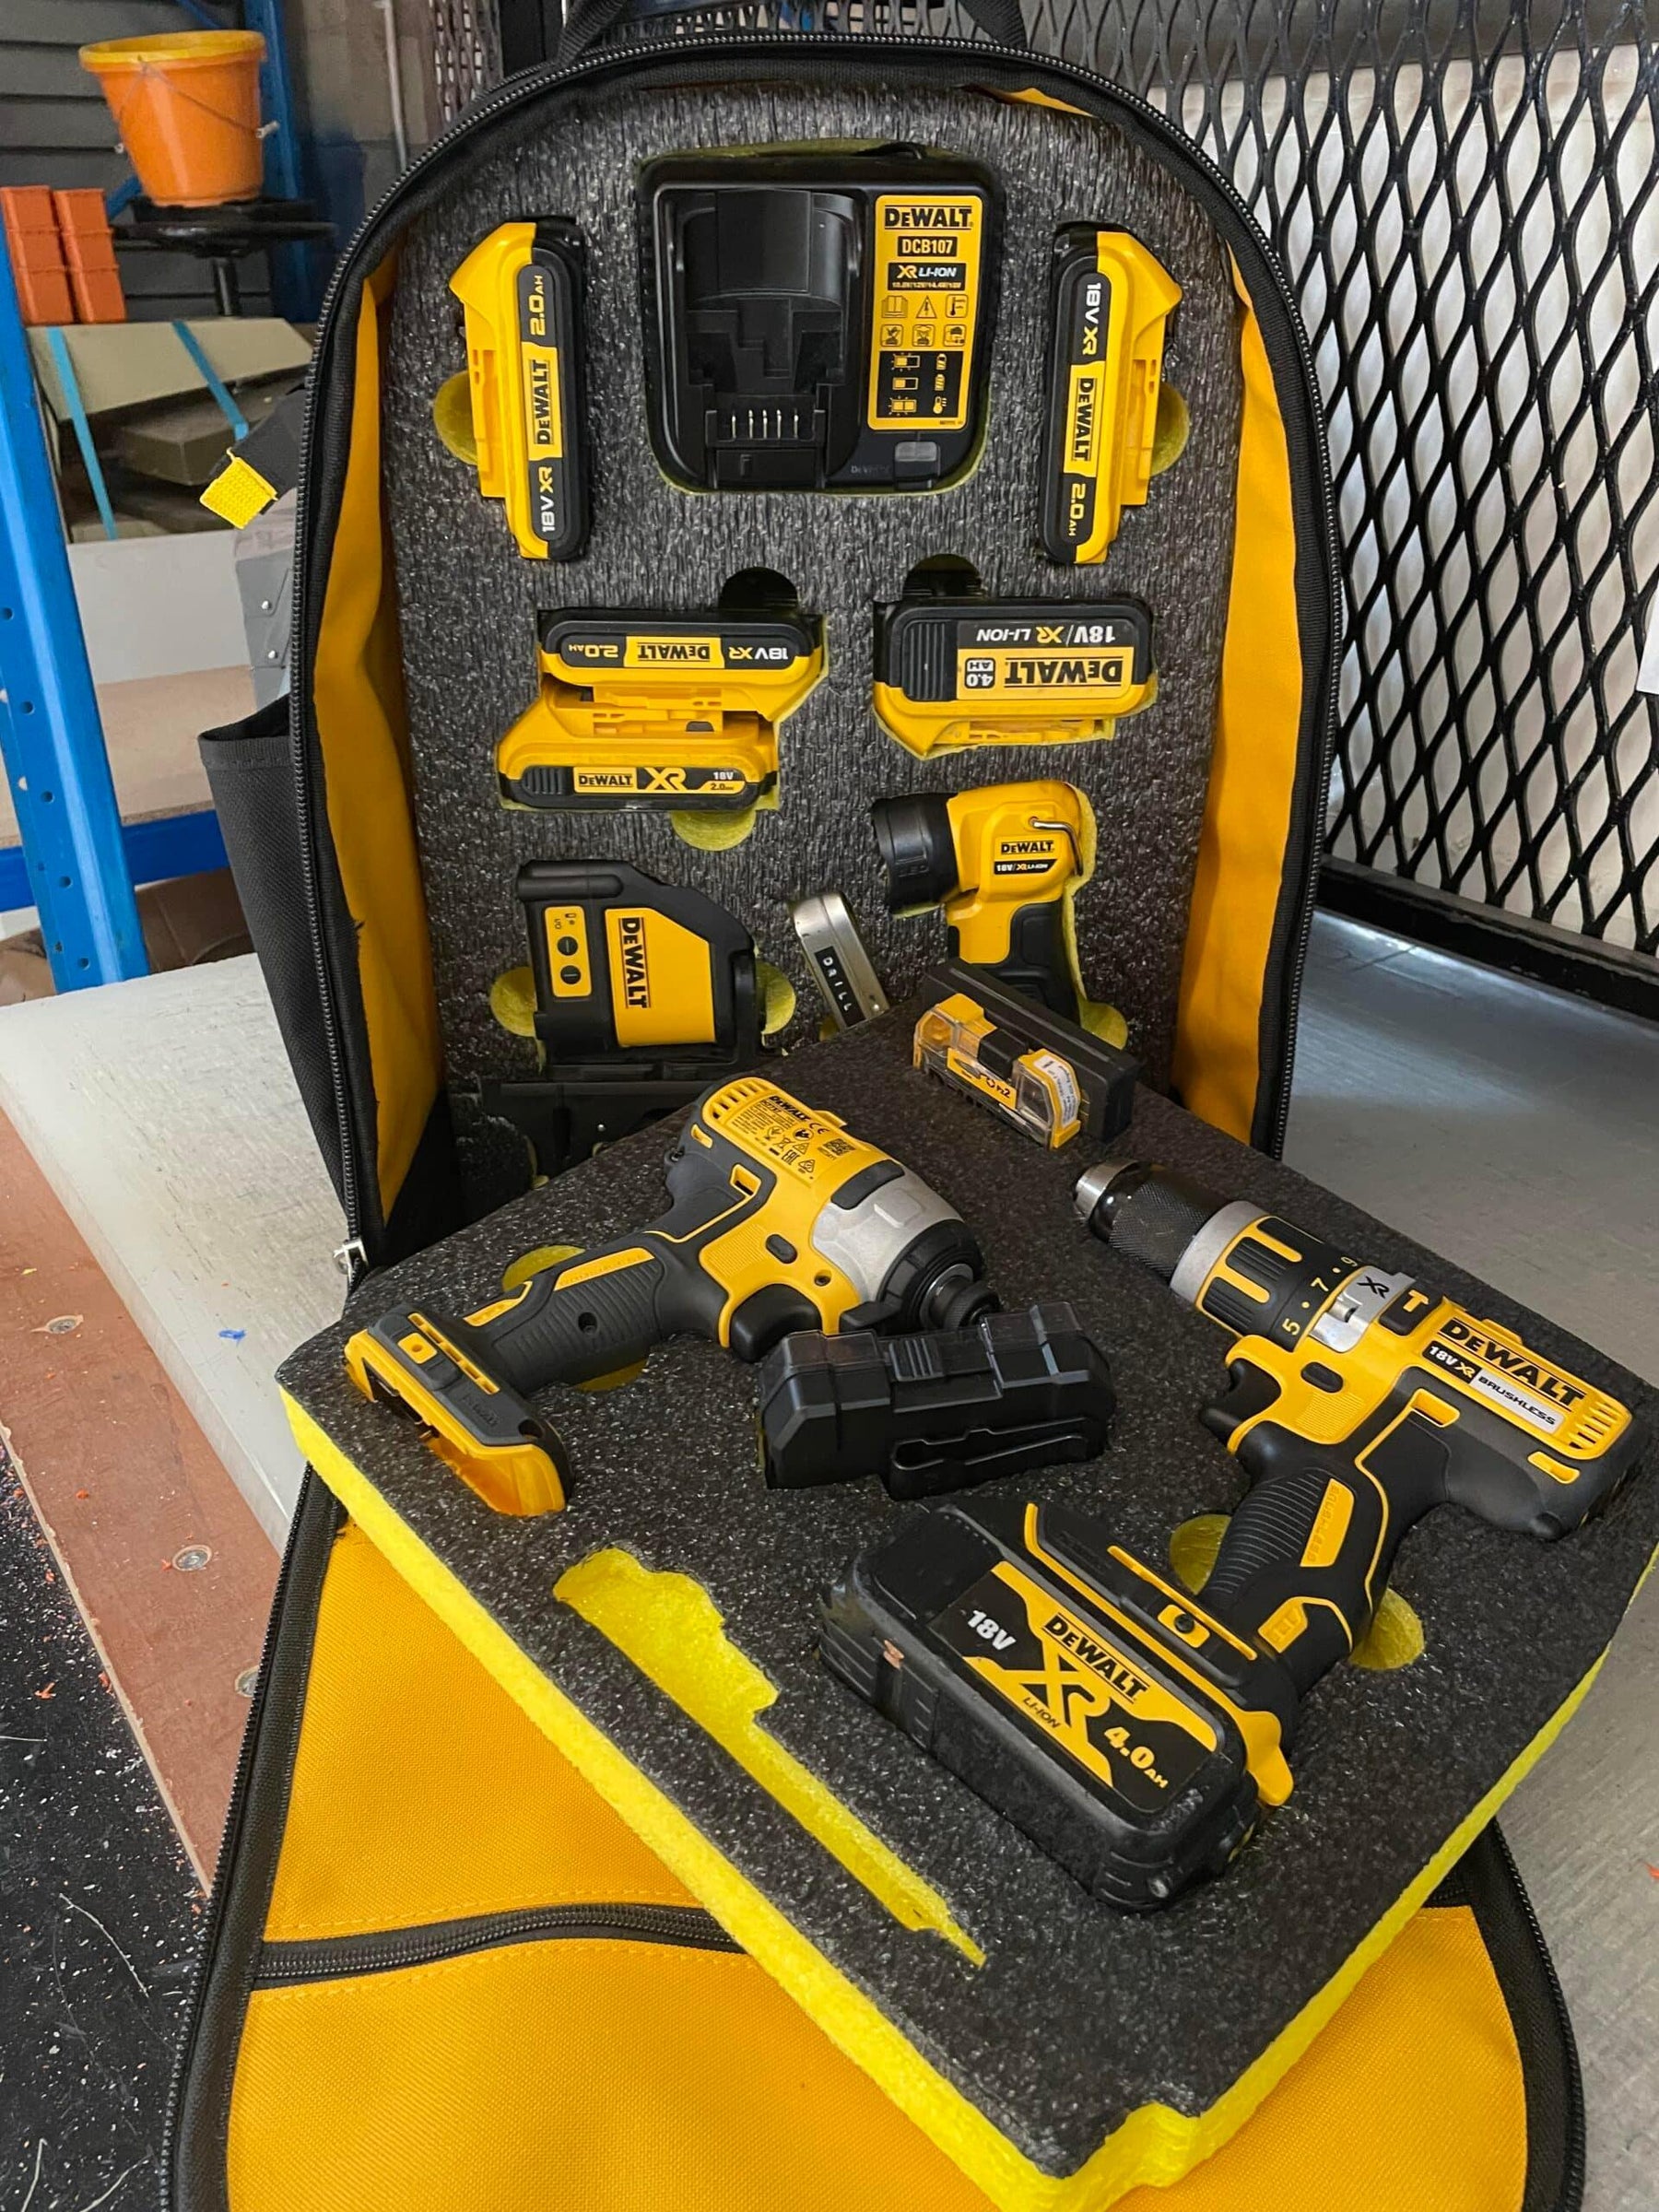
We wanted to take the contents from the top case of our Tough System 2.0 stack and put them in this Dewalt tool bag. The case presently contains our impact drill, combi drill and some accessories. The plan is to put them in the toolbag backpack so we can then use the ToughSystem 2.0 box for something else. Dewalt tool bag
Also, by adding a few carefully chosen, more often used items to the Dewalt backpack we’re giving ourselves a nice stand-alone tool set as well.
Quite apart from the fact that this was a bargain, and we love Dewalt quality, there were real reasons behind going for a this Dewalt tool bag. We could of course have opted for the Dewalt Tote or any kind of handheld tool bags. But backpacks are more versatile when carrying a heavy load as you have different carrying options. As the name suggests, you can wear on your back, or as is the case with this one, you can carry by hand with the handle on top. But it’s generally accepted that since backpacks more evenly distribute the weight of the contents across the wearer’s back, then as long as they’re not overloaded, they are generally better for us. Dewalt backpack
Additionally, our range of motion is a lot less restricted when wearing a backpack. And importantly for us here, it frees up our hands for carrying or pulling our ToughSystem stack, or carrying whatever other tool bags we might need for the job.
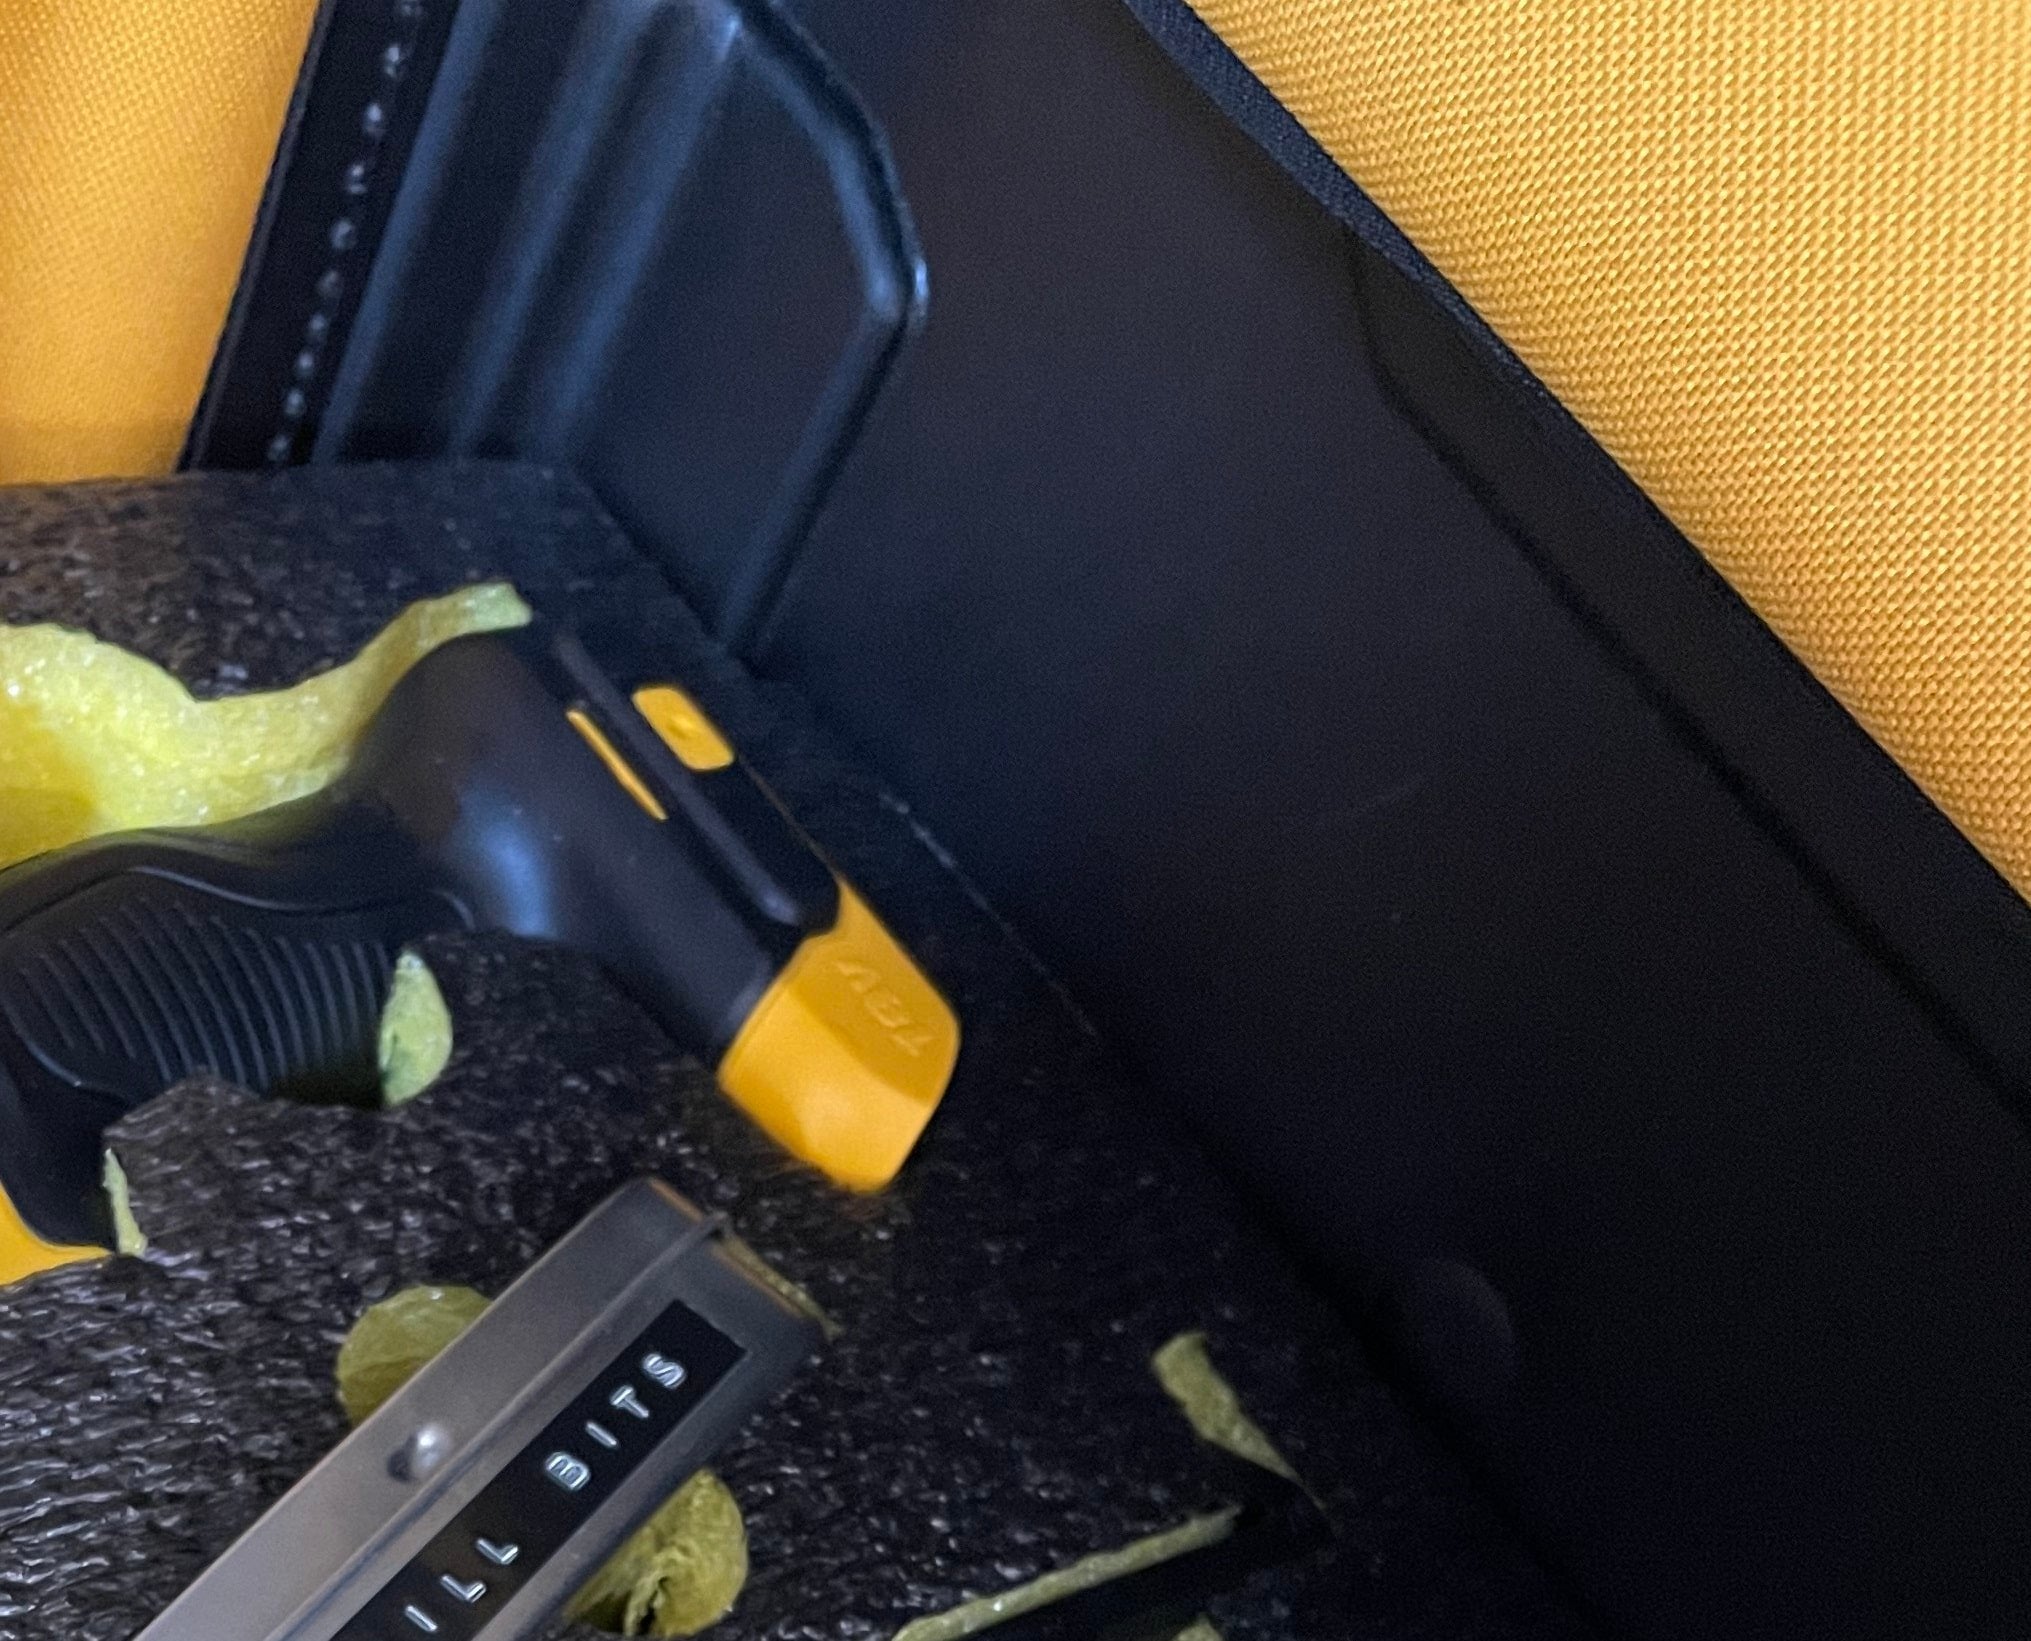
This Dewalt backpack has a lot of pockets, which is brilliant. And we plan to keep most. But as a lot of the interior pockets will just be in the way for us, we’re removing them. They are simply stitched in. So we used our Shadow Foam scalpel to cut through a section of stitching. This then allowed us to just unpick the inner pockets from the case lining and pull them out.
The added benefit of upgrading the toolbag with Shadow Foam is that it will give the bag extra rigidity. You can see it already has a tough, reinforced plastic base. Now, adding foam will give better shape and structure to the rest of the bag around it’s soft edges too. toolbag backpack
Once the internal pockets are removed, we’re left with the perfect blank cavity. Into this we can now fit our foam ready for getting the tools fitted in. For this project we’ve opted for a larger 70mm piece of foam for the bigger, heavier items. This is important as these will be sitting closest to our back when we carry it, making it more ergonomic and preventing too much weight pulling the other direction. Then an additional layer of 50mm will be added on top for the slightly smaller / lighter items. Of course, we’ve stuck with the traditional black and yellow of Dewalt (Black and Decker / Stanley as the case may be for your items). Then along with: toolbag backpack
a cutting kit,
a stencil set (for finger pulls)
and our new foam smoothing spinners
…we’ve got everything we need to get started.
This is probably the trickiest part of the process, and one that you will have to play a little bit by ear yourselves if doing this at home. As you know we do ready made inserts for most of the Dewalt range including the ToughSystem and Tough System 2.0. But due to the unique quirks of soft sided toolbags, you need to do this yourself. But it’s pretty straightforward to do.
A while ago we created this super easy guide to making a custom fit insert for any container. But when the case has things like soft sides and seams, it’s little trickier but definitely not insurmountable. So you could apply that technique here, but then be prepared to freehand a little to get the right profiling and fit for your bag. That’s because you’ll find that the stitched seams make the bag a little un-symmetrical. So you need to make allowances for that in a soft-sided case or toolbag like this.
We initially drew around the outside of the bag on the foam to give us a good approximation of the shape needed. Then we cut that out. That gave us a great basis on which to start, but they still needed a little shaping and refinement. With Jonathan’s experience of cutting foam he was able to do this quickly, largely by eye. But if you’re new to cutting Shadow Foam and to Shadowfoaming in general, it’s worth taking some time to get the right shape.

A couple of additional tips and lessons that we learned while cutting the foam to fit the toolbag backpack were:
As you know, all the external pockets were left as they were when we prepped the tool bags interior for the foam. That was so we could really maximise space and fill them with whatever additional tools we needed. When we first cut the foam insert to perfectly fit the inside of the back, it rendered the pockets unusable. That was because the insert filled out the bag too much and made the pockets too tight. We remedied this by cutting the width of the inserts down slightly, by around half an inch, on each side. Now the pockets are easily accessible again, and we’ve lost nothing in terms of the space inside of the bag.
Especially in regard to the removable 50mm tray we cut to slot in and out of this bag, but generally a good tip. We were left with a little rough edging or feathering around the outside of the cut. We were happy with the shape we made, and had added radiuses to the corners. But we wanted to remove the rough fibres we were left with. If you find the same, then you could try this top tip:
Take a heat gun on maximum heat, and hold it around six inches away from your foam insert. Gently heat the edges. But don’t go so close that the foam begins to melt, as it will melt quickly with too much heat. And you should find that any rough threads or little feathered sections smooths away nicely. When cool, rub the heated edges down a little with your hands or a cloth. Those rough sections disappear, and you’re left with a nice shine or gloss on the edge, and a much smoother finish.
You’re probably used by now to seeing the process by which we plan the layouts of our storage. This is usually the biggest part of the job as planning is key to getting the most from your storage. Going in, amongst other stuff, will be:
Batteries
Charger
Laser
Torch
Combi drill
Impact driver
Drill bits
Easy outs
Pen dewalt tool bag
Once the layout is planned, it’s time to get cutting. We always recommend that you refresh yourself on the best technique via our How To guides. Or indeed from most of our YouTube makes before getting started. Important to this process is using the right technique for peeling back the foam sections. Again you can find a guide on that here.
If you want to achieve a super neat result in the base of the areas you’ve cut out, you can use our foam smoothing spinners. Just place the spinner in a drill, and you can smooth out the base of the cuts. See it in use here. dewalt tool bag

We wanted the 50mm removable tray to sit nicely and neatly on top of the main 70mm storage. So for that reason we cut the tools nice and deeply into the 70mm foam. This then left us with a nice flush top. The tools being stored in the top later of course didn’t need to sit quite so deep. There was adequate room left in the tool bags usable space for these to stand a little proud on top of the foam. But we got the base layer as flat as we could.
As we used the stencil kit to add finger pulls, all the tools would still be easy to get out. dewalt tool bag

So what do you think of it? We are super impressed with the Dewalt tool bag overall, the quality is great. The remaining pockets and features are really useable – there’s a small zipped pocket, and another open topped one for longer tools (we used it for our hammer). There’s a big zipped internal pocket at the back, ideal for laptops, books or documents. And a handy little tape measure loop too. With the addition of our foam inserts for organisation and tool control we also know our tools are protected while we’re on the move. So we’re really happy with this upgrade, but would to know what you think too. dewalt tool bag
{"one"=>"Select 2 or 3 items to compare", "other"=>"{{ count }} of 3 items selected"}
