Fast Worldwide Shipping*
Daily order cutoff at 2pm

We love a road trip here at Shadow Foam! So when we had the opportunity to visit our affiliate Mad Ford Engineering we jumped at the chance. Mad Ford have a mad number of drawers in their amazing workspace, and literally tons of mechanics tools. So there was plenty of organising to go at. If you have a mechanic tool box, drawers or use an electrical crimping tool for your work, then this is the project for you!
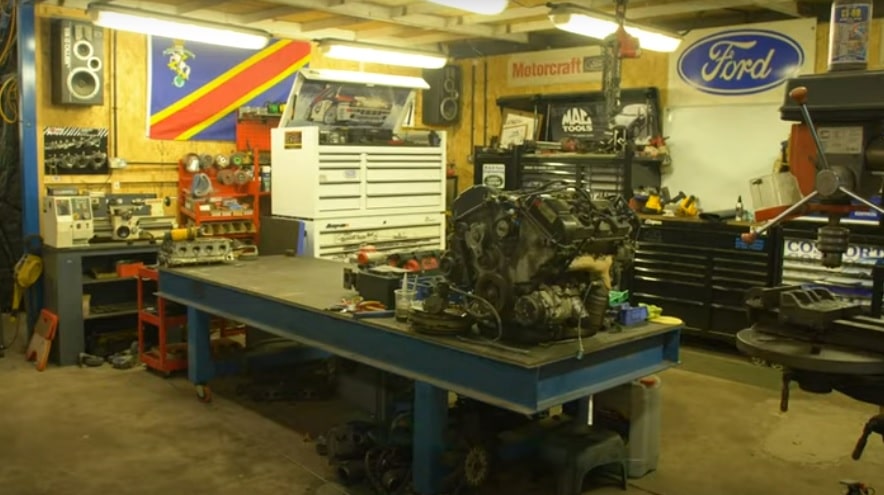
The Stafford based engineering firm are big in the world of all things classic and retro Ford. From servicing to full restorations and much more. They also love working on Land Rovers and ex military vehicles and complete restorations for people all over the world. One of their key USPs is that they stream all their work on Twitch. So wherever you are on the planet, you can watch your vehicle being worked on. Mick of Mad Ford Engineering has been an affiliate of Shadow Foam since 2022, so a visit was well overdue.
We couldn’t quite believe how many tool boxes and drawers Mick had. And actually they were already pretty organised. As in everything had it’s place and everything was being kept in really tidy condition. A very impressive set up indeed. There are still great benefits of adding Shadow Foam to an already great set-up like this. It will make it immediately obvious if a tool hasn’t been returned to it’s place. It will also protect things longer term and hopefully save money in terms of preventing losses and breakages.
Shadow Foam offer a custom foam cutting service, and we can essentially make any size foam insert for you. Our maximum size is 2m x 1m but within that, any size goes. However it’s usually quicker and more cost-effective to make your own inserts from our sheets or multi-packs of foam. And this project perfectly demonstrates how easy that can be. Even if, as in this instance, you don’t have a sheet of foam that’s quite big enough to fit. The nature of the product means it’s pretty easy to adapt to suit.
We had some of our medium sheets which are 100cm x 50cm in size and Mick’s mechanics tools drawers were slightly bigger than that. So all we had to do for this is cut some small additional strips of foam to pad out the back of the drawer. And before you know it, you’ve a custom fit drawer liner. We do these sheets in a range of 7 colours and 3 depths. For this drawer we used our shallowest 30mm foam. And of course it had to be in Mad Ford Engineering blue!
Figuring out the layout is usually one of the longest parts of projects like this. Make sure you have everything together that you need in there, then play about with the layout to find the most efficient solution for you. Try and maintain about 8-10mm between each item. Then once you are happy with the layout it often pays to take a photo to remind you of what goes where.
Fortunately Mick was on hand to help us identify some of the mechanics tools we didn’t recognise as there was a lot of electrical crimping tool items and the like in there which were new to us.
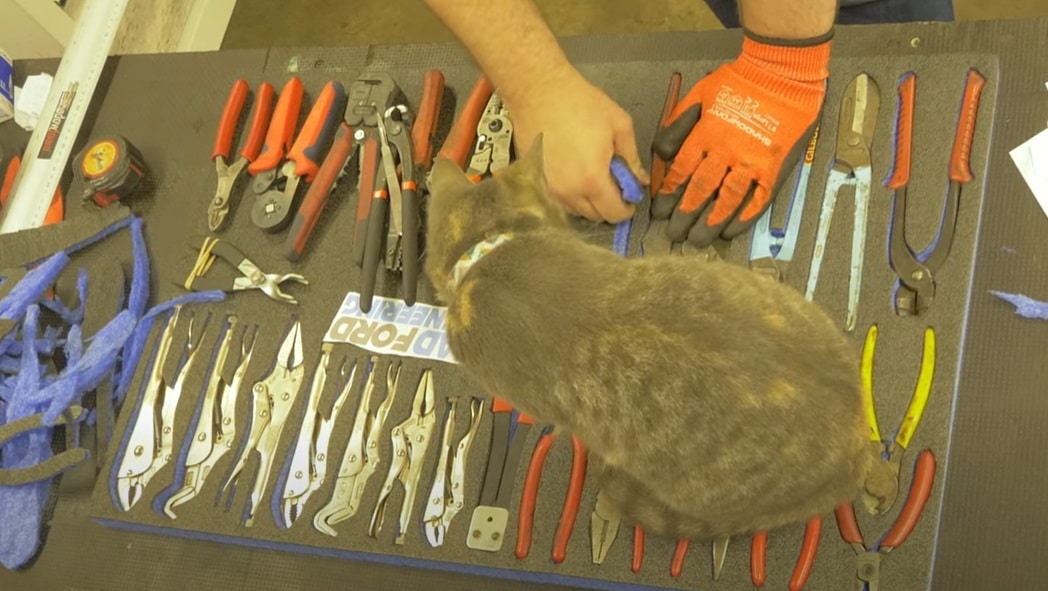
As there wasn’t a lot of height clearance in the shallow drawers we kitted out, we cut the tools so they say flush into the foam. For that reason it’s really important to add in finger-pulls for ease of getting the tools out easily. We did this by using our meter rule across the two main rows of tools. This is super quick as well as creating a really cool looking result. The for the odd items in the middle, we usually use our stencil kits to add nice round finger pulls. As we didn’t have these with us on this trip, our foam smoothing spinners acted as ideal substitutes.
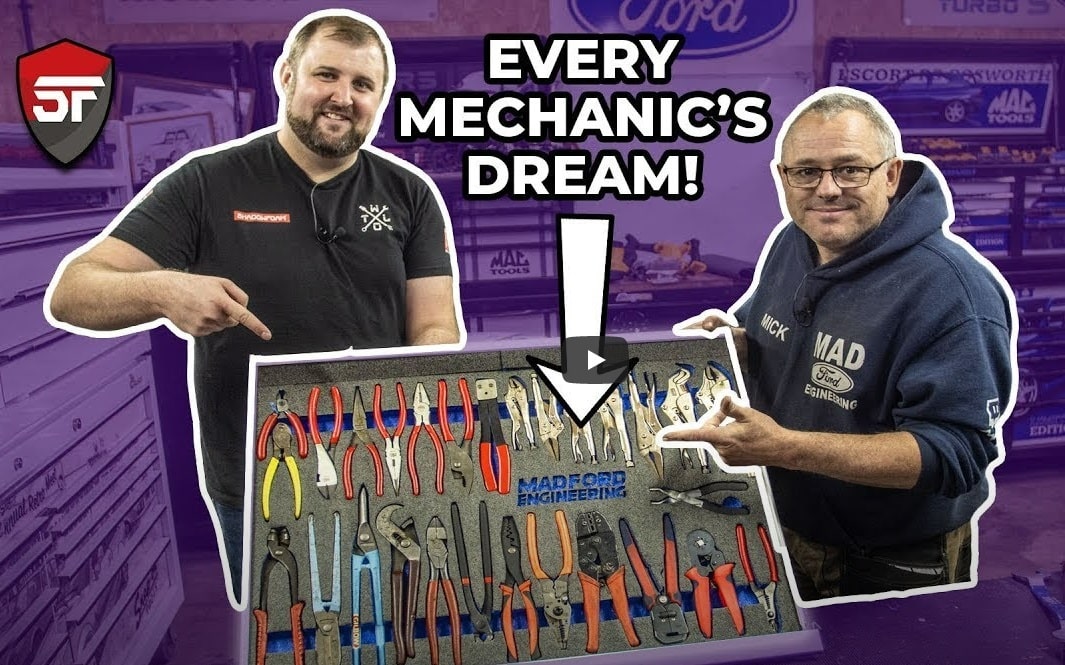
Now with finger pulls added, we wanted to customise the insert, and did so by adding in Mad Ford’s logo. This is a really simple and effective way of personalising your tool storage but looks really impactful too. You can learn more on how this is done here.
We think Mick and the Mad Ford team seem pretty pleased with their organised drawer, but what do you think?
{"one"=>"Select 2 or 3 items to compare", "other"=>"{{ count }} of 3 items selected"}